
For today’s post, I thought I would spend a little bit of time on how to make a lining for your knitted (or crocheted, or anything really!) bag. When you are making a knitted bag, the stitches can stretch out over time when you put heavy items in them. Also, because of the nature of knit and crochet fabrics, there will be opportunities for small items, such as keys, to poke through the stitches. Over time, this can damage your bag, and after all that hard work, the last thing you want to deal with is trying to fix a bag because a key sawed through a cable stitch!

This tutorial is how to make a bag lining on the fly without rulers, grids, or any kind of measuring tools. If you are a quilter, this may not be the tutorial for you since this is not measured out, but if you are just starting out sewing or the idea of sewing anything scares you, this is the tutorial for you.
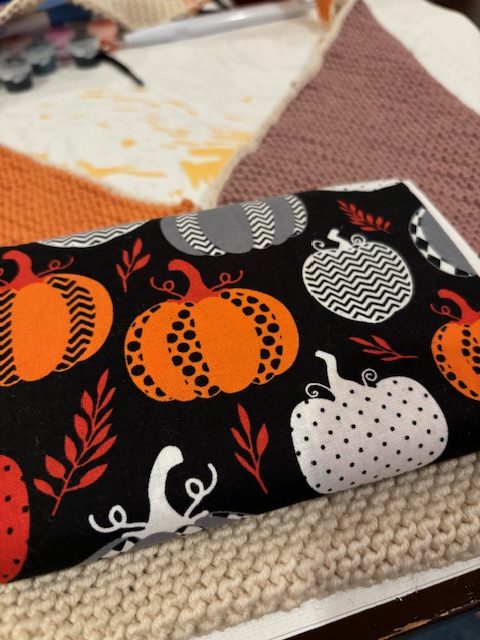
The first thing you need to do is grab your bag and your fabric of choice. For this, I was lining two bags, so I grabbed both and a one-yard piece of fabric that was on clearance last year after Halloween at Walmart.
Lay out your fabric so that the folded end is closest to you. We’re going to save sewing time here by using the fold in the fabric for the bottom of our lining. Again, if you are already adept at sewing, this may bug you, but bear with me. Lay your bag, bottom down, on the fabric, leaving about an inch on the side and an inch on the bottom.
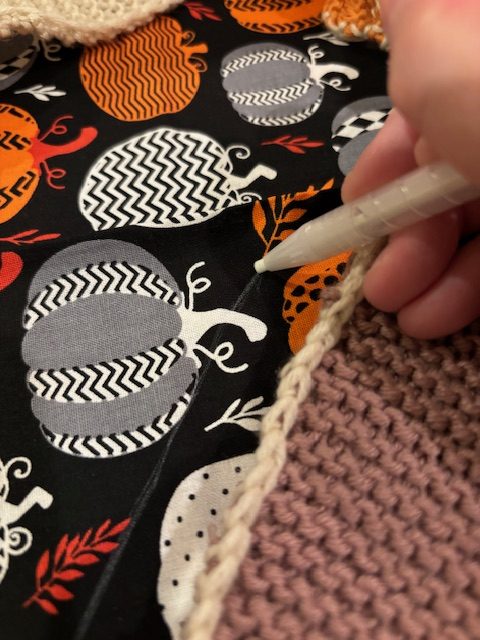
Next, you can either cut around the bag or use a fabric marking tool to draw around the bag to form lines to cut. I chose to draw lines because of the shape of the bag.

The last step in this phase is to cut out the fabric.

Once it’s cut out, turn it the other way so that the right sides are facing each other.

At this point, you can either grab your sewing machine and sew up the two sides, or sew them up by hand, whichever you like. Just remember, you only need to sew the sides because the bottom is the fold in the fabric, and you need the top open to be able to use your bag!

You then have a lovely inside-out lining ready to be attached to your bag.

Turn your lining back around so that the right side is on the outside and turn your knitted bag inside out. Slip the lining over the inside out bag. Remember, you want to see the side of the lining that you want to see inside your bag staring back at you. If you’re looking at the wrong side of the fabric, flip it around or you’ll be doing a lot of ripping! At this point, you’ll whip stitch the lining to the bag.

When you’re done stitching the lining to the bag, you’ll turn your knitted bag right side out and flip the lining down into the bag. Congratulations, you now have a lined bag, ready to be used for your everyday needs!

I used less than a yard of fabric for the two bags. I still have plenty left over to use for other fun projects later on.
Stay crafty!