
Last night, Brian was at play practice again, so I decided to work on a craft project that took up the kitchen. I have been wanting to make some herbal tealight candles for a while now and had all the items needed in my stash, so I hooked up the wax warmer and gathered supplies.
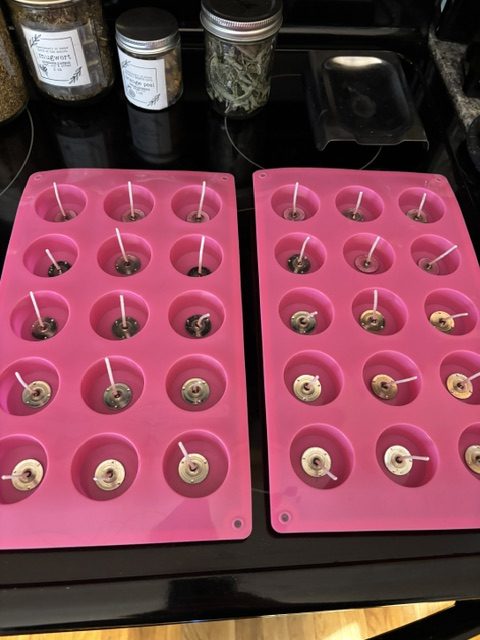
First, I took these chocolate molds that are actually the perfect size for tealight candles. I stuck the wicks down in the bottom of the hole for each one.
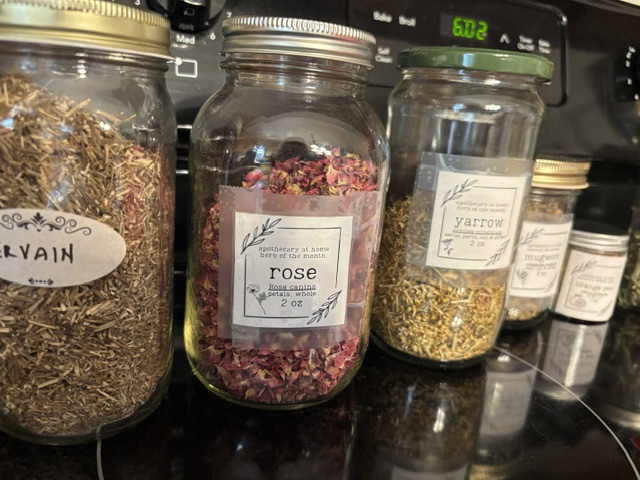
Second, I gathered my herbs. I decided to do a row of six different herbs for this one. I used vervain, rose, yarrow, orange peel, mugwort, and sage for my six different types. To say that I have an herbal apothecary at home might be an understatement. I like making my own herbal tea blends, so I have a wide variety sitting in my dresser drawer!
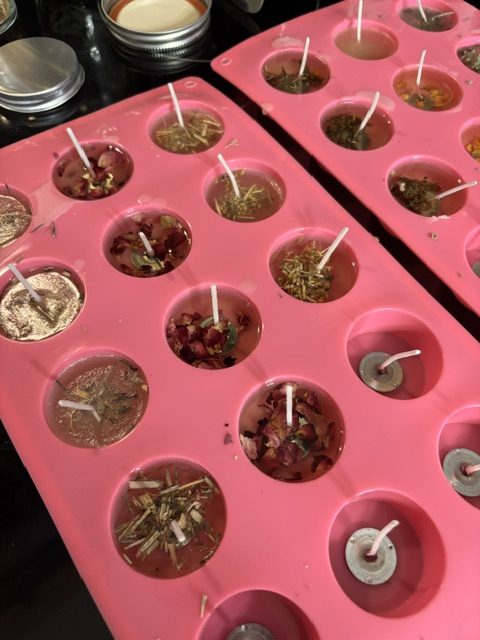
The next step is the fun one. I melted the wax (I used paraffin wax for these since I wanted them to turn to liquid faster than beeswax in order to make the herbs more aromatic when burning) and then poured the wax into the molds. After the wax was poured, I added in the herbs to the mold.
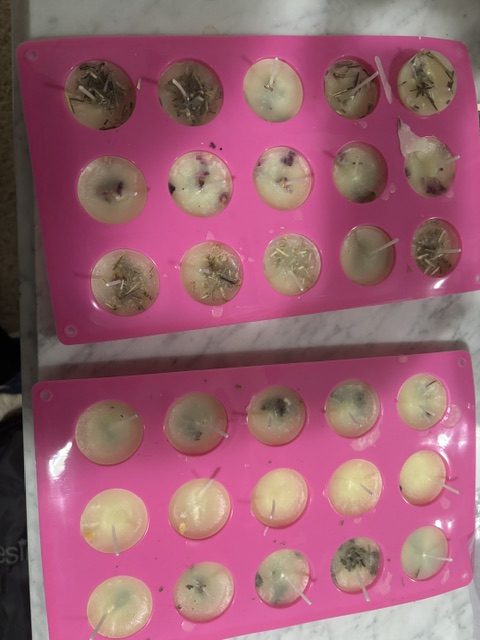
You then let them sit overnight. Once they are good and solid, you can unmold them. I just did one for illustration purposes. I’ll unmold the others tonight or tomorrow.
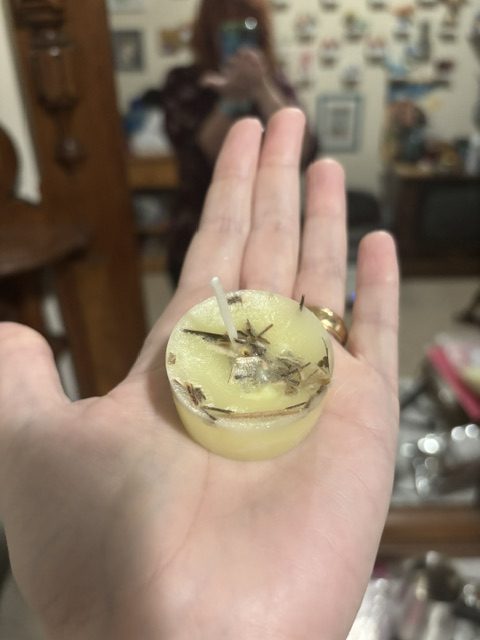
Now you let the candles cure for a few days. Never burn a candle immediately after making it. The wax has to cure and form its structure and that can take 3-5 days. These will cure for a bit before I use them.

This was a fun evening project. It really only took about an hour total from gathering to finishing the pour and herbs. And let me tell you, the kitchen smelled lovely, especially from the rose petals.
Stay crafty!